Telephone Support
🧭 Overview
- Use Cisco desk phones for campus and external calls.
- Set up and manage voicemail.
- Access your desk phone remotely with Cisco Jabber.
- Install Cisco Jabber on supported personal or Stockton-managed devices.
Before You Begin
- Have your Stockton username, GoPortal password, and Duo device available for Jabber setup.
- Have your desk-phone extension available when setting up voicemail.
- For Jabber on a mobile device, request mobile access through the ITS Help Desk.
- For phone equipment problems, contact Telecommunications or the ITS Help Desk.
Telephone Services
The Office of Telecommunications provides telephone and voicemail support for faculty, staff, and students. Report questions, damaged equipment, or service issues by dialing 0 or extension 4643.

Stockton Phone Exchanges
- 4200–4999: (609) 652
- 3000–3199: (609) 626
- 3400–3650: (609) 626
- 3800–3899: (609) 626
- 5500–5599: (609) 626
- 6001–6600: (609) 626
- 6800–6899: (609) 626
- 1000–1499: (609) 761
- Main Stockton switchboard: 609-652-1776
Desk Phone Tutorials
Select a topic below for guidance on Cisco 8800 series desk phones, including phone controls, calling, and voicemail.
Cisco 8800 Series Phone Buttons
Telephone Feature Buttons
Use the image and list below to identify common Cisco 8841 phone controls.

- Voicemail indicator
- Phone display
- Line and feature buttons
- Soft keys for phone features
- Navigation pad
- Release key
- Hold button
- Conference button
- Transfer button
- Speaker button
- Mute button
- Headset button
- Dial pad
- Volume adjustment
- Directory button
- Application button for phone settings
- Voicemail button
- Back button
- Handset
Place, Hold, Transfer, and Conference Calls
Calling Quick Reference
-
Dial a number
- Emergency: Dial 911 or 9-911.
- On-campus phone: Dial the four-digit extension.
- Local call: Dial 9-xxx-xxx-xxxx.
- Long-distance or toll-free call: Dial 9-1-xxx-xxx-xxxx.
-
Place a call on hold
During a call, press the Hold button.

Press Resume to retrieve the call. If several calls are on hold, use the navigation key to select the call you want to resume.
-
Answer a waiting call
When you hear the call-waiting tone, press the Answer soft key. Your current call is automatically placed on hold.
-
Transfer a call
Press the Transfer button, dial the destination number, and press Transfer again.

If the receiving party refuses the transfer, press End Call, then press Resume to return to the original caller.
-
Start a conference call
A conference call can include up to six participants, including the initiator. During an active call, press the Conference button, dial the next number, and press Conference again. Repeat to add more participants.

To view active participants, press More, then press ConfList.
Set Up and Access Voicemail
Voicemail
-
Set up voicemail
Press the Messages key on your desk phone.

When prompted, enter the default password: 531531#. Follow the prompts to record your name, record a standard greeting, and set a new password.
Your new voicemail password must:
- Contain at least four digits.
- Not match the last four digits of your phone number.
- Not be the reverse of your phone number.
- Not use consecutive numbers such as 1234 or 5678.
- Not repeat two digits in sequence, such as 1212.
- Not contain three matching digits, such as 8882.
-
Access voicemail from your desk phone
Press the Messages key, then enter your voicemail password when prompted.
-
Access voicemail from another phone
Dial 609-626-6800, press *, enter your extension followed by #, then enter your voicemail password.
-
Use the voicemail menu
- Check new messages.
- Send a message.
- Review saved messages.
- Open setup options.
-
Change your voicemail password
Log in to voicemail, press 4-3-1, enter a new password, press #, enter the new password again, and press #.
-
Change your greeting
Log in to voicemail and press 4-1-1. After Cisco Unity plays your current greeting, press 1 to re-record it, or press 3 to record a different greeting.
Cisco Jabber Remote Phone Access
Cisco Jabber lets you access your desk phone remotely from a computer. Jabber is preconfigured for desktop and laptop computers and may be set up on Android and iOS devices upon request. To request mobile Jabber access, contact the ITS Help Desk at 609-652-4309.
Install Jabber on a Personal Windows Computer
-
Download Jabber
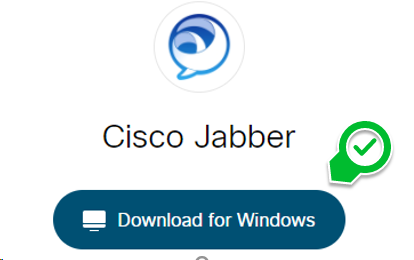
Go to Cisco Jabber downloads and select Download for Windows.
-
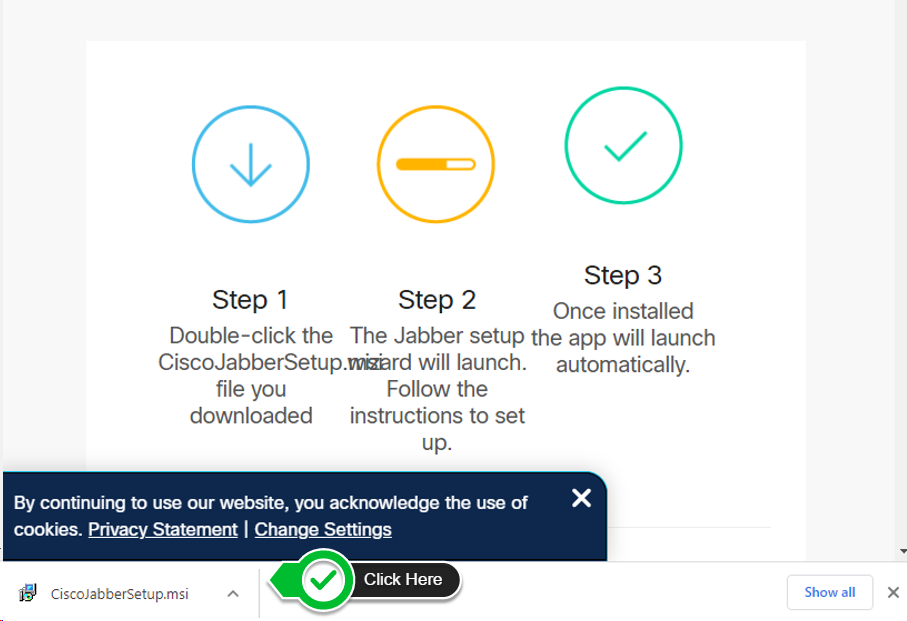
Run the installer
After the download completes, run the installer.
-
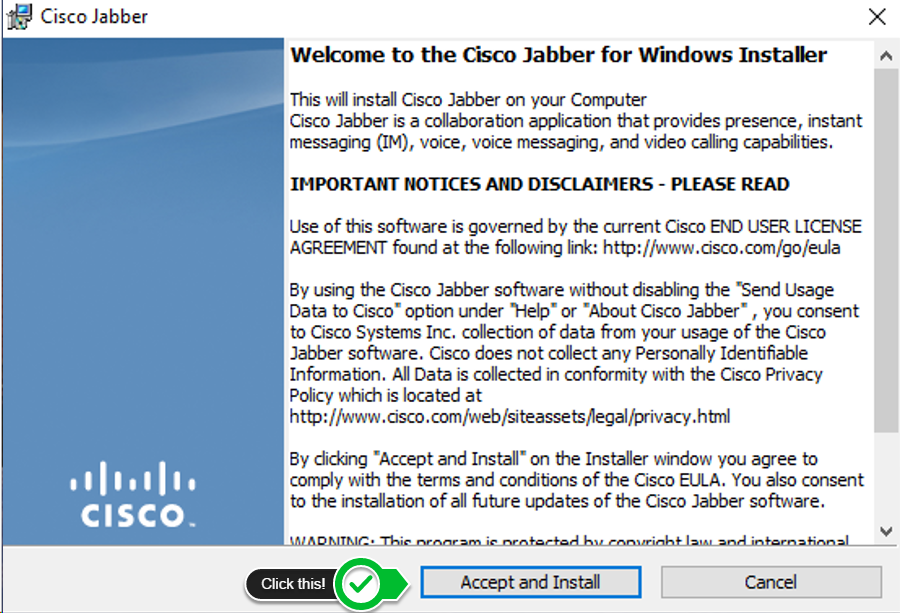
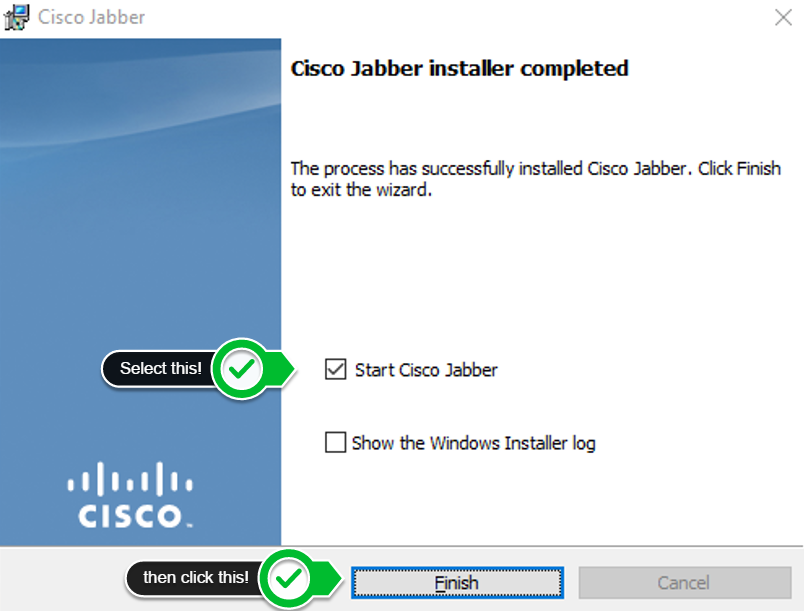
Install Jabber
Accept the installation prompts, allow Jabber to make changes to your device, leave Start Jabber selected, and select Finish.
-
Sign in
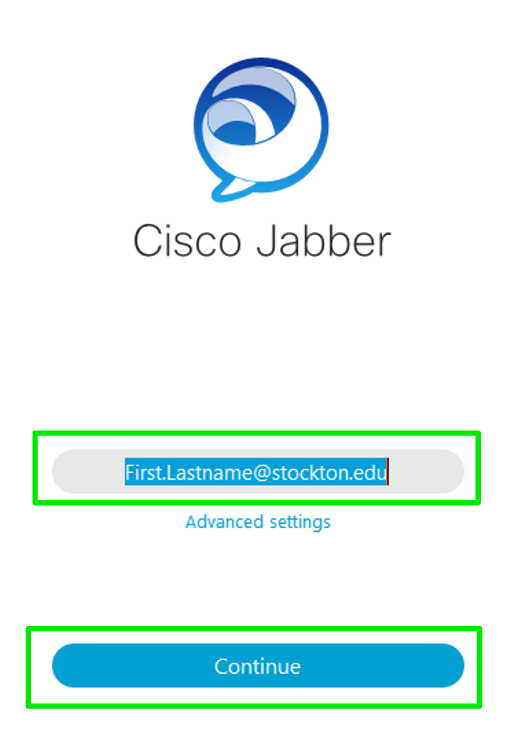
Enter your full Stockton University email address, then select Continue.
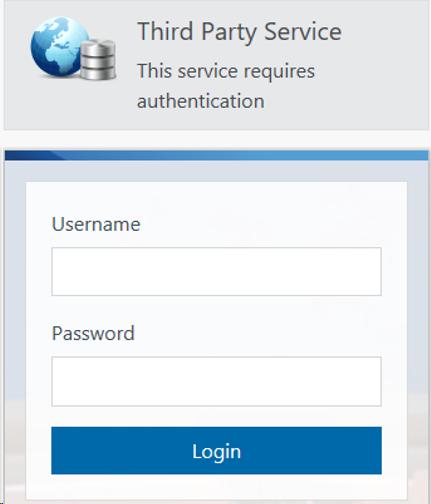
Authenticate with your Stockton GoPortal credentials.
Install Jabber on a Stockton-Managed Windows Computer
Important: Before beginning, connect to VPN using the Cisco Connect application. If you need VPN access, complete the remote access form.
-
Open Software Center
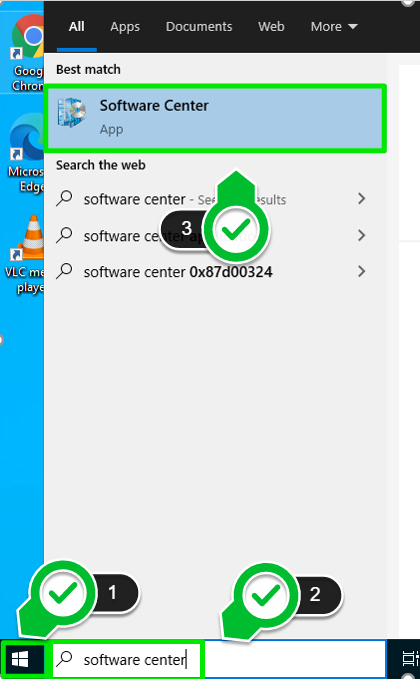
Open the Windows Start menu, search for Software Center, and open the Software Center application.
-
Find Cisco Jabber
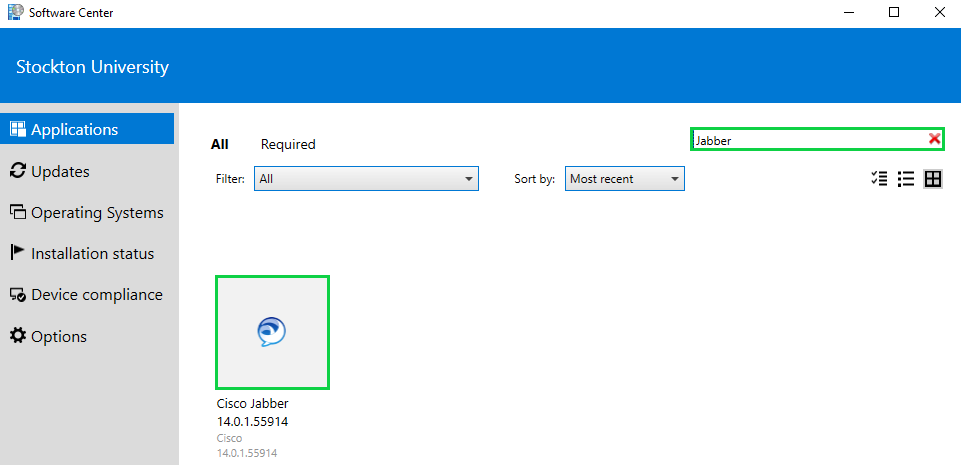
Use the search bar in the upper-left corner to search for the Jabber application, then select it.
-
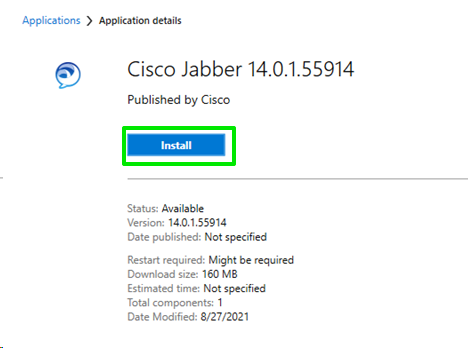
Install the application
Select Install.
-
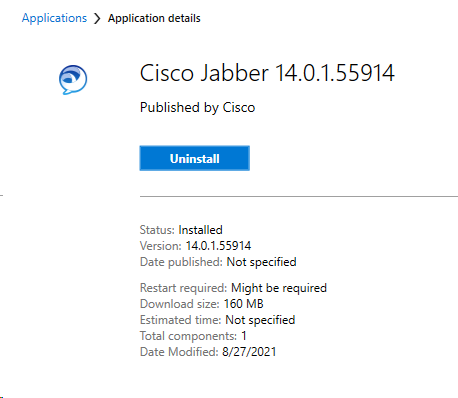
Wait for installation
Wait approximately five minutes. The status changes from Available to Installed when the installation is complete.
Install Jabber on a Personal Mac
Important: For Jabber access on a Stockton-managed Apple computer, contact the ITS Help Desk at 609-652-4309.
-
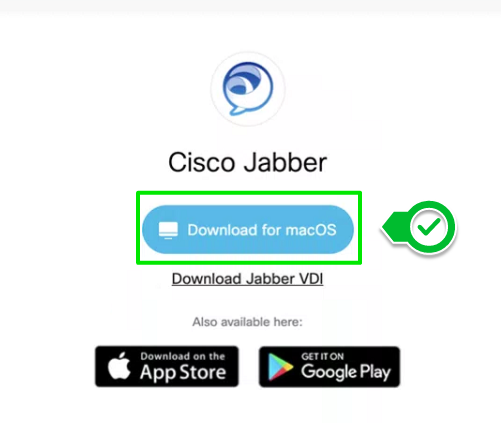
Download Jabber for macOS
Go to Cisco Jabber downloads and select Download for macOS.
-
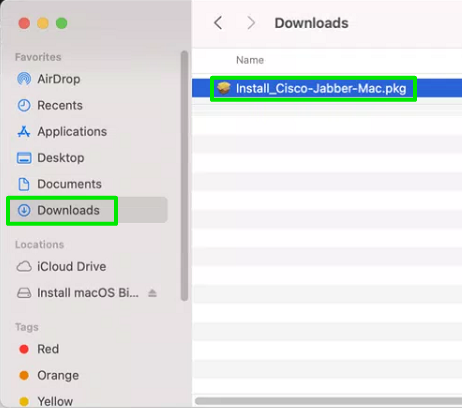
Open the installer
When the download is complete, open Finder, go to your Downloads folder, and open the downloaded Jabber package.
-
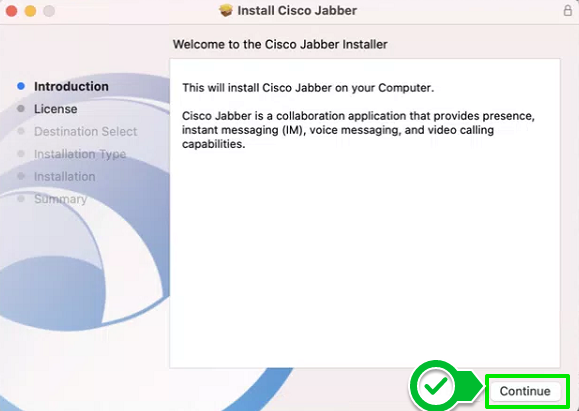
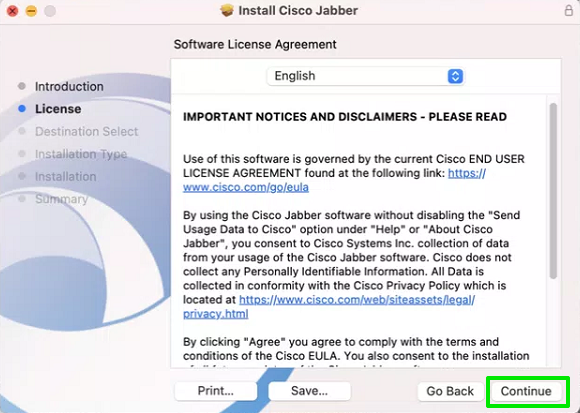
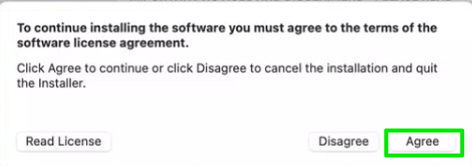
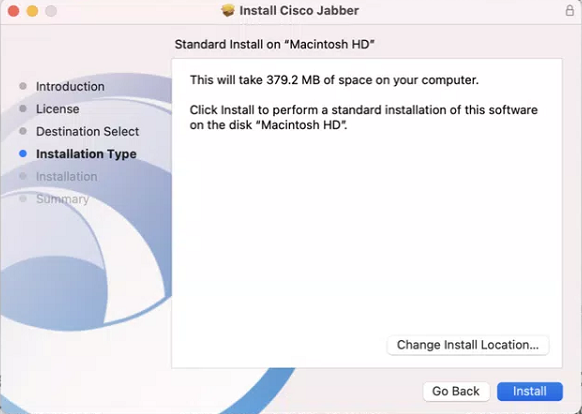
Complete installation
Select Continue, select Continue again, select Agree, then select Install.
-
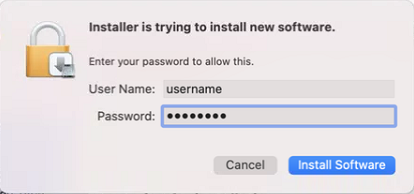
Enter your Mac password
Enter the administrator password for your personal Mac. This is your computer password, not your Stockton GoPortal password.
-
Open Jabber and sign in
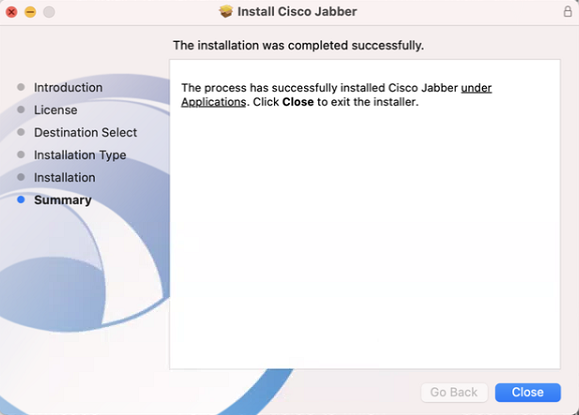
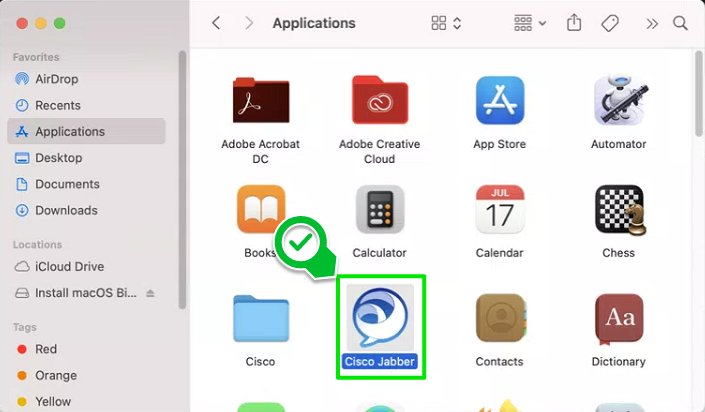
Select Close after installation, open Finder, go to Applications, and open Cisco Jabber.
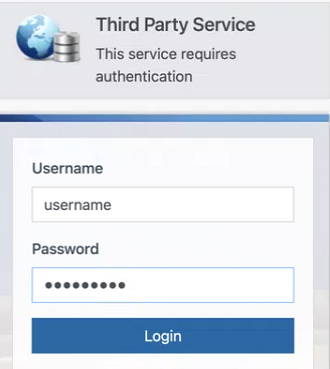
Enter your full formal Stockton email address, such as FirstName.LastName@stockton.edu, then select Continue.
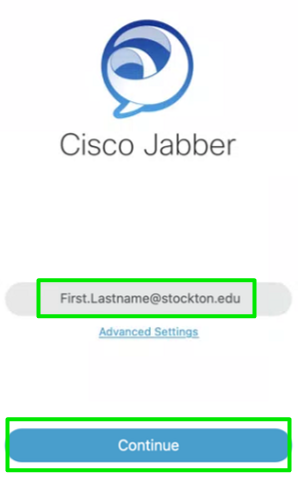
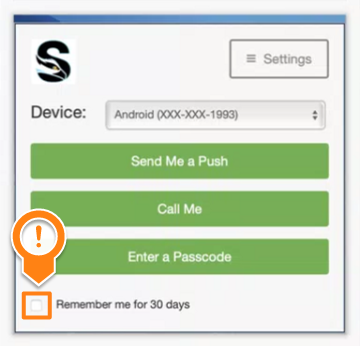
Enter your Stockton GoPortal credentials.
-
Allow required permissions
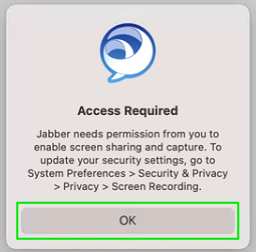
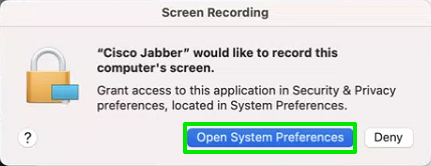
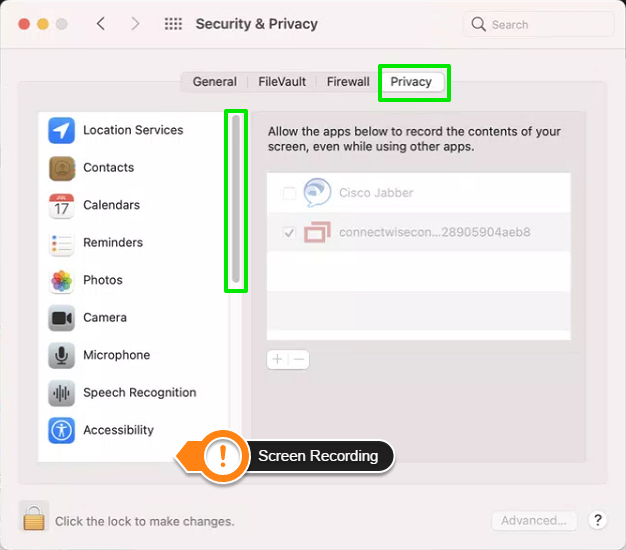
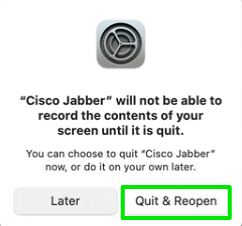
When prompted, allow Jabber to use audio settings and screen-recording settings.
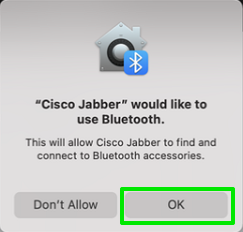
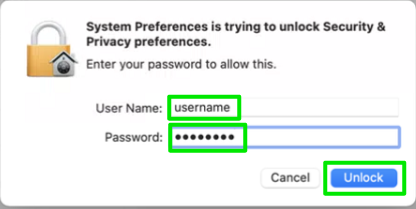
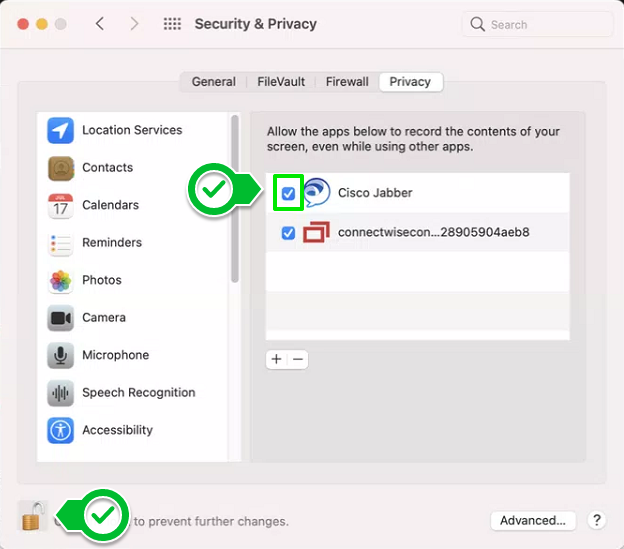
Open System Preferences when prompted, unlock the relevant setting with the padlock, enter your Mac administrator password, select Cisco Jabber, lock the setting again, and quit Jabber when prompted. Jabber will then be ready to use.
Set Up Jabber on an iPhone
-
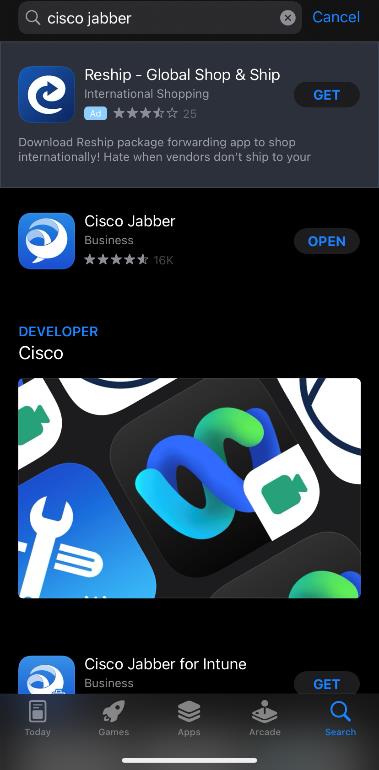
Install Cisco Jabber
Open the App Store and download Cisco Jabber.
-
Open the app and enter your account
Open Jabber and enter your Stockton username or Stockton University email address, such as username@stockton.edu or firstname.lastname@stockton.edu. Select Continue.

-
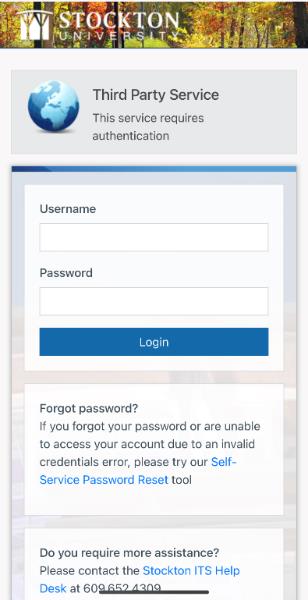
Authenticate
Sign in with your Stockton username and password, then complete Duo authentication.

-
Start using Jabber
After you sign in, Jabber rings your personal extension unless another configuration was requested. For help, call 609-652-4309 or dial 4309 from Jabber.
Set Up Jabber on an Android Phone
-
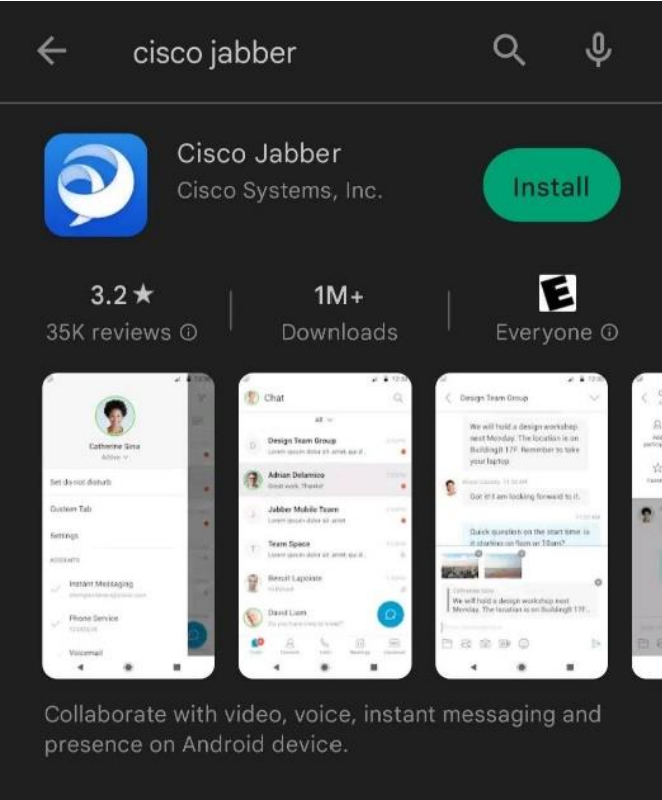
Install Cisco Jabber
Open Google Play and search for Cisco Jabber.
-
Review permissions
Open Jabber and accept the terms of service. The app requests permissions for contacts, phone calls, media, and audio. You need to allow the app to make and manage phone calls; other permissions can be denied if you do not need those features.
-
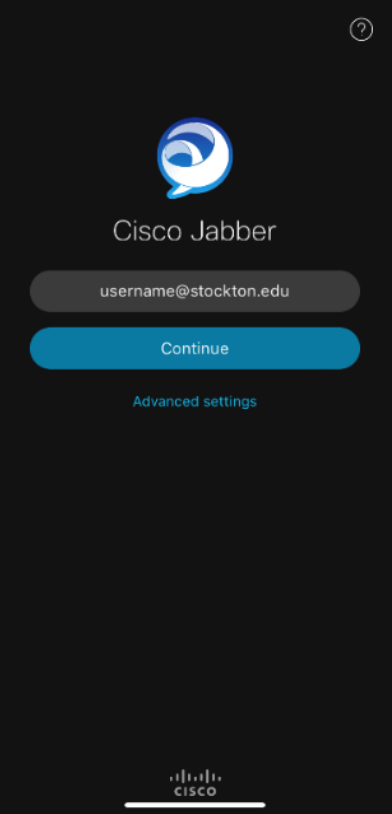
Enter your account
Enter your Stockton username or Stockton University email address, such as username@stockton.edu or firstname.lastname@stockton.edu, then select Continue.
-
Authenticate and begin using Jabber
Sign in with your Stockton username and password, then complete Duo authentication. Jabber will ring your personal extension unless another configuration was requested.
For help, call 609-652-4309 or dial 4309 from Jabber.
Configure Jabber Microphone and Speakers
-
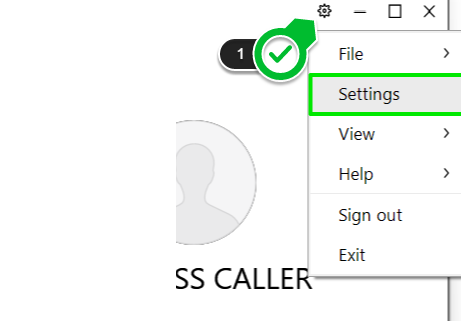
Open settings
Select the gear icon in the upper-right corner of Jabber.
-
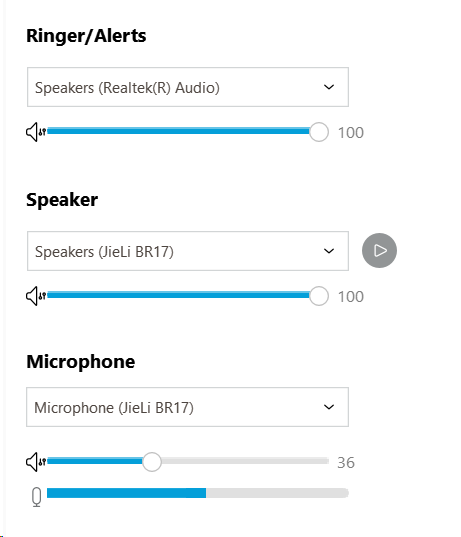
Select audio devices
Review the audio settings and choose the correct microphone and speaker devices.
-
Save settings
Select OK to save your device settings.

Place a Call with Jabber
-
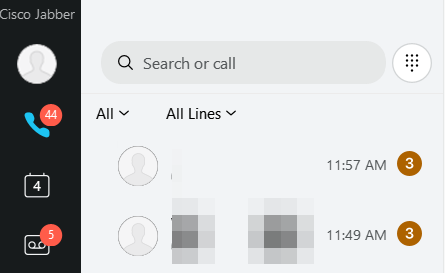
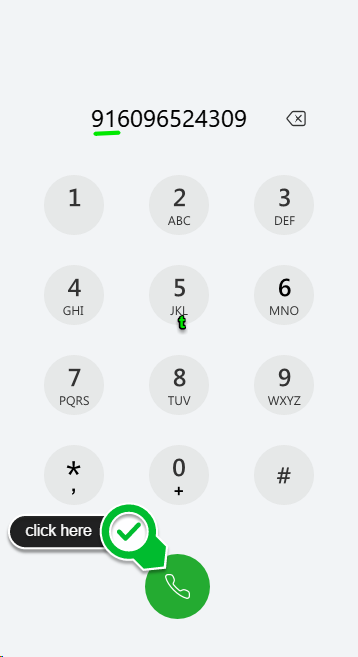
Open the dial pad
Select the dial button in the upper-right portion of the left panel in Jabber.
-
Enter the phone number
For an external call, dial 91 before the rest of the phone number, then select the call icon.
-
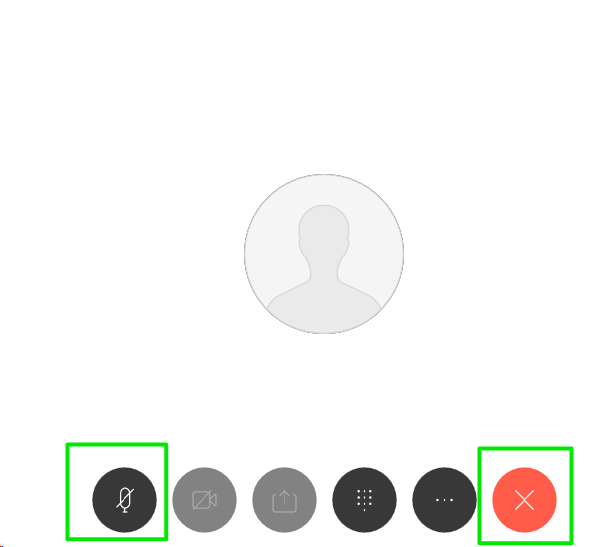
Mute or end the call
Select the mute icon to mute yourself. Select the red X to end the call.
Related
- Remote access and VPN request form
- Stockton main switchboard: 609-652-1776
Get help
- ️ Telecommunications: dial 0 or extension 4643.
- ITS Help Desk: 609‑652‑4309
- ️ Telephone support: PhoneSupport@stockton.edu
- ️ ITS Help Desk: helpdesk@stockton.edu
- 🧾 Submit a ticket